School gardening – old style!
Previous posts in this series about School Gardening have set out some ideas for starting up and designing your school garden project. Having got some foundations in place and a design that’s ready to go, how do you put it into practice? Here are seven tips for creating your dream School Garden.
1. Phasing – so you have ambitious ideas for the design and use of your garden, but perhaps you might be trying to bite off a little too much at once? Think about the levels of volunteer help, promises of materials and cash to hand and tailor your plans accordingly. Sure, strive for your dream, but maybe tackle it in manageable chunks. You can think about parts of the garden that need creating first – say the paths and basic border/bed layout. Add on’s like an orchard or pond could come later? It might be useful to spread these elements over a few years, perhaps identifying a major project for each year which can focus fundraising and community effort and help to keep the energy and momentum up when enthusiasm wanes.

Children digging in
2. Digging in – the first practical day of activity – or ‘groundbreaking’ – is an important event. Make sure it’s both productive and fun. You want to encourage children and the wider community to become committed and involved in the long term. It’s probably best to get any heavy work that involves earth moving or bigger construction done before the official launch day to avoid too many people, machinery and activities on it at once. This will also help to ensure that your main community effort can leave the launch event feeling that they’ve really contributed something worthwhile. Planning for the launch day is important too – think about and order the tools and materials you’ll need and where these should be placed to ensure safe and efficient working.

Local businesses can be involved in creating the garden
3. Community input – communicate your plans, both short and longer term, to the school and wider community so that you get boots on the ground for your ‘Groundbreaking’ event. Plan and organise the various tasks that need doing on the day and have people who can lead groups of volunteers on each activity. Put someone in charge of allocating volunteers to the different tasks as they turn up – a sort of triage. Having a range of tasks available is useful to cope with children and adults with different types and levels of skill (and strength) – tree planting, raised bed construction, soil shifting, path making etc. Maybe you can get extra help from local companies or organisations to add importance as well as ‘muscle’ to the day – how about your local fire station (even better if they can bring along a fire engine) or give a local firm a chance to promote themselves and give something to the community?
For the day itself perhaps have a novel twist that will grab local media interest – could you include a competition for children to see who can create the best signs or pictures of the new garden, and perhaps something fun for adults – the best dressed gardener?! Plan ahead for further workdays or ‘Garden Gang’ events – identify the key tasks that need doing and as with your launch event make sure you organ ise your volunteers effectively on the day, with all the materials and tools needed to hand. Possibly cultivate local business input so that specific skills you need can be brought in – e.g,. a local nursery helping with pruning fruit trees, landscapers/builders willing to help install fencing, etc. In some parts of the UK the ‘Mastergardener’ and ‘Mastercomposter’ programmes are able to offer voluntary support to schools and the community to grow their own food.

Tools will need to be repaired or replaced
4. Money managing – you may have enough cash and other resources for your launch day, but it’s also wise to think longer term and consider the ongoing costs and expenses that will need to be funded once the garden is up and running. A key issue is the ‘Garden Coordinator’ or lead person. Is she/he a willing volunteer or do you need to find some means of payment, either as member of staff or a small ‘honorarium’ to recognise the regular commitment that will be needed? You’ll also need funds to repair and replace tools (some will inevitably get lost). So have a small fund dedicated to this, though it may be in the first year or two this can be quite small.
Odd items of infrastructure will also need to be replaced, repaired or acquired as the use of the garden develops; e.g. shelving for the greenhouse, tables for potting, and the ongoing supply of compost, grit or whatever else your particular garden needs to keep it operating. All of these ongoing costs need to be budgeted for and ideally a source of funding identified so that major fundraising efforts can be focused on more significant projects. The School Budget may be a source of this funding, but it’s likely that you’ll need to call on the Parents’/Friends’ Association, local charities, company sponsorship etc. to meet at least some of the ongoing expenses.
5. Fundraising – if you’ve decided to phase your project then you’ll need to plan ahead for the funding and other ‘in kind’ support you’ll need to achieve the later elements of the garden. So some sort of fundraising effort is likely to be required on an ongoing basis and it might be sensible to put someone in charge of this, ideally someone with the skills to put together applications for funding to public/ charitable sources as well as ongoing campaigns that can focus on raising cash via the school and local community – local lottery games and fundraising events (quizzes, fireworks, cake sales) for example. Could you also ask parents to make an annual donation to the garden?

Steering Group meetings are essential
6. Steering the project – by now the real movers and shakers behind your project should have identified themselves and these people need to be nurtured into your active committee/steering group for the Garden. Regular, focused meetings to discuss progress and plans will be needed, but avoid these becoming too formal and bureaucratic. You need to ensure that those giving their time to the project feel that they are contributing and are valued, so make your meetings pleasant social events as well as efficient at tackling the business – side of things. It’s also important to keep the garden relevant to the curriculum, so regularly review how it’s being or could be used to enhance the learning at the school and possibly encourage teachers and others to develop their skills through training or attending specific workshops on school gardening.

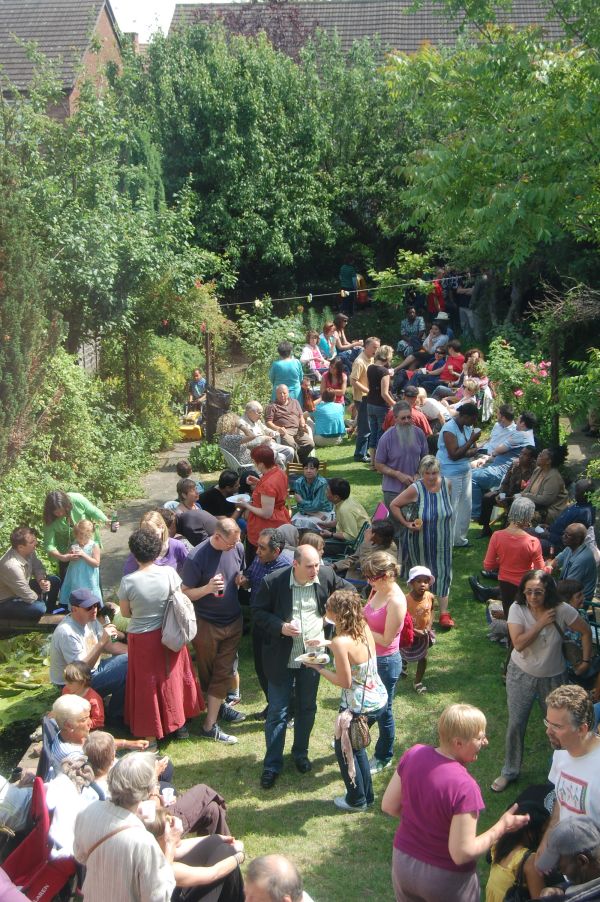
Plant and produce sales can raise cash for the garden and celebrate its achievements
7. Celebrate – not only should your launch or groundbreaking event be a celebration of what’s been achieved and what’s planned, but it’s important to regularly celebrate the garden as key milestones are reached. Providing food and drink on events is one way of oiling the wheels and making events an enjoyable community gathering (especially if parents and the community don’t have many other opportunities to get together locally). Keeping local media interested in your project is also important as reporting in local newspapers, radio, tv and increasingly the internet all affirm the value of the project. As they say ‘nothing succeeds like success’!
The School website or blog could have regular posts about activity in the garden (maybe you’ll need someone to take responsibility for this aspect of things) and regular email updates to publicise events and fundraising are a must. ‘Sending a note home’ with a child is perhaps notoriously unreliable as a way of communicating with parents, so maybe think of more novel ways of getting the message across – a stall to sell plants and produce from the Garden and present infotrmation about it’s achievements at the School summer fair, or displays of children’s work in the School which can be seen at parent’s evenings and other events, for example.
So by now the garden should be well into ‘start up’ mode and will be the talk of the School and local area! In the next post in this series I’ll be offering some advice on good practices for developing your School Garden into an effective learning and community resource.

Let’s get gardening!
Other posts in the series:
Growing Children 2: Seven Design tips for your School Garden
Growing Children 1: School Garden start up in Seven Steps
School Gardening – reconnecting children and Nature
Sources & Further information:
‘How to grow a School Garden’ – Arden Bucklin-Spooner and Rachel Kathleen Pringle, Timber Press Books
School Gardening Club- ideas
Budding Gardeners- lots of advice and info
Garden planner tool
Planning your school garden
Food & Agriculture Organisation School Garden Planner
California School Garden Network Guide to School Gardening
School Gardening Wizard
School garden fundraising
Old School Gardener
If you’ve enjoyed reading this post and others on this blog, why not comment and join others by signing up for automatic updates via email (see side bar, above right ) or through an RSS feed (see top of page)?


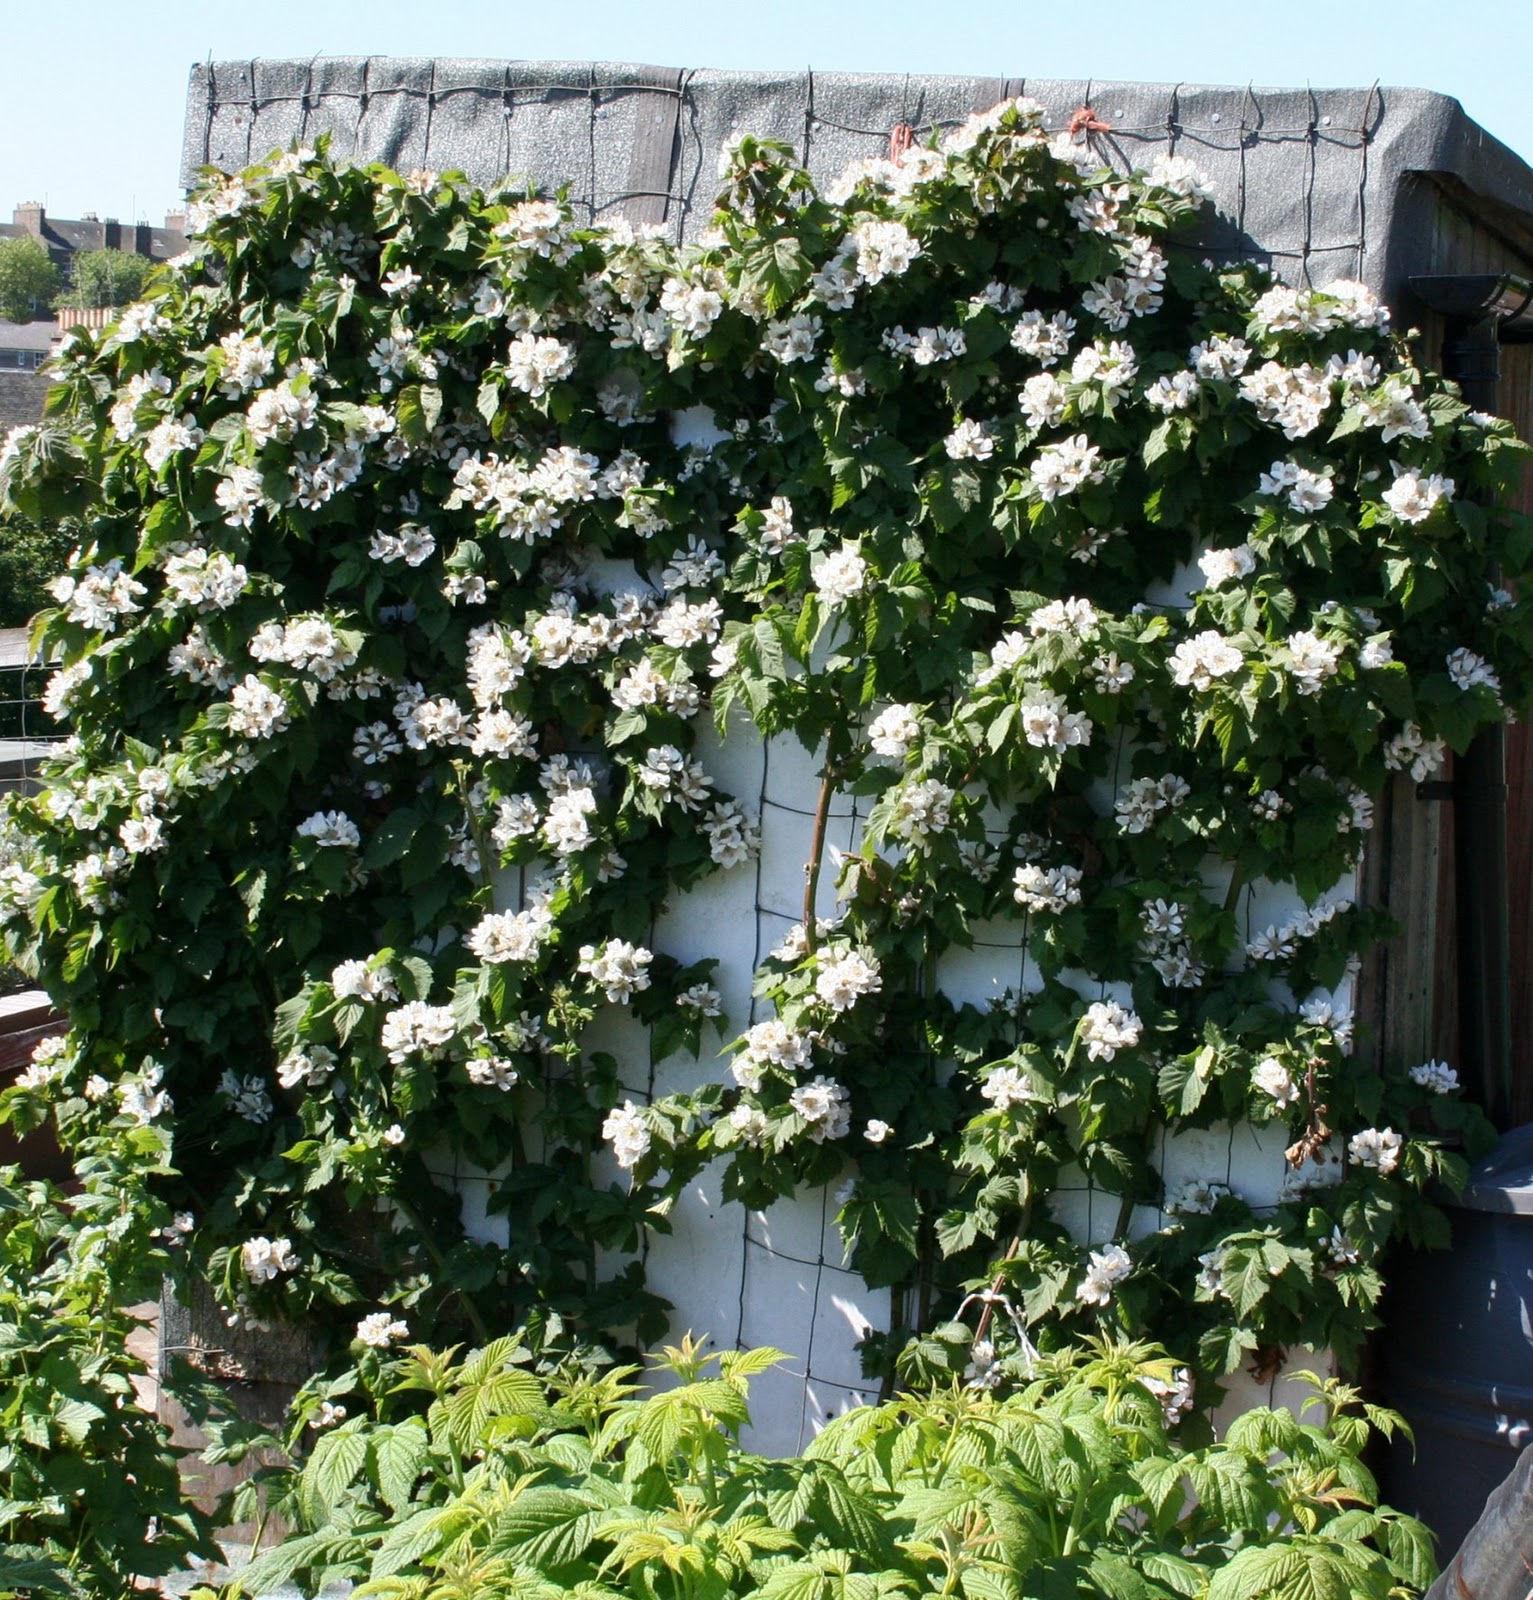
 Hedges can be used to divide up a space and perhaps be a point of interest themselves..
  Likewise, trellises, arches and other structures ..