 Old School Garden – 29th February 2016
Dear Walter,
This month has been one of acquisition. I mentioned my plans for a DIY shed (including shingle roof) at Blickling recently and one of the volunteers, Peter, said he thought his brother might have some shingles he wanted rid of. Well last week I collected several boxes of cedar shingles and ridge caps from his home in nearby Taverham, and think I might have enough to do most if not all of the roof- for a bargain price of £20.

Shingles…I look forward to fixing these on the roof of my new shed
The shingles are old, but unused and have been stored under cover for several years. You may remember that I’m drawing up plans for this shed based on using the old floorboards taken up when we had some under floor insulation put in? The plans are firming up nicely, and I’m making the shed big enough and tall enough to comfortably store all my unpowered garden tools along with a potting bench and storage for trays, pots and all the other garden paraphernalia like string, plant labels and so on. I’ll need to buy a few extra slabs for the base, as well as the timber for the frame, but the result should be something that will last, be big enough, not cost the earth – and look attractive too (I hope).

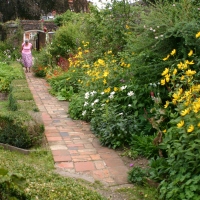
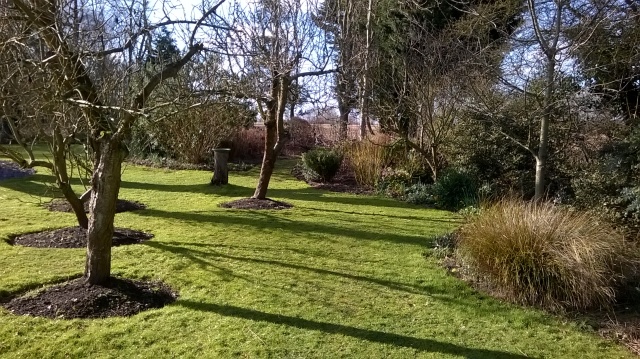
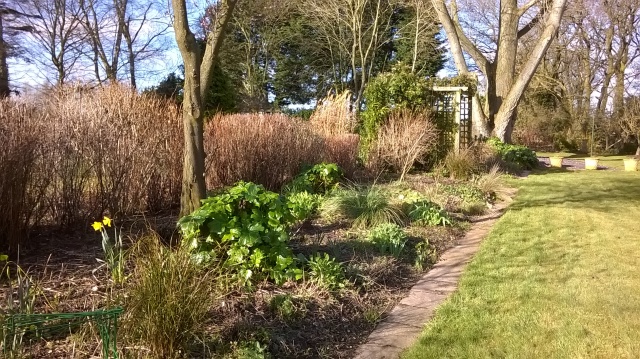
Newly extended borders and planting near the pond…

…the pond area starts to take shape…

..with a Yew Hedge to come (how many years?)
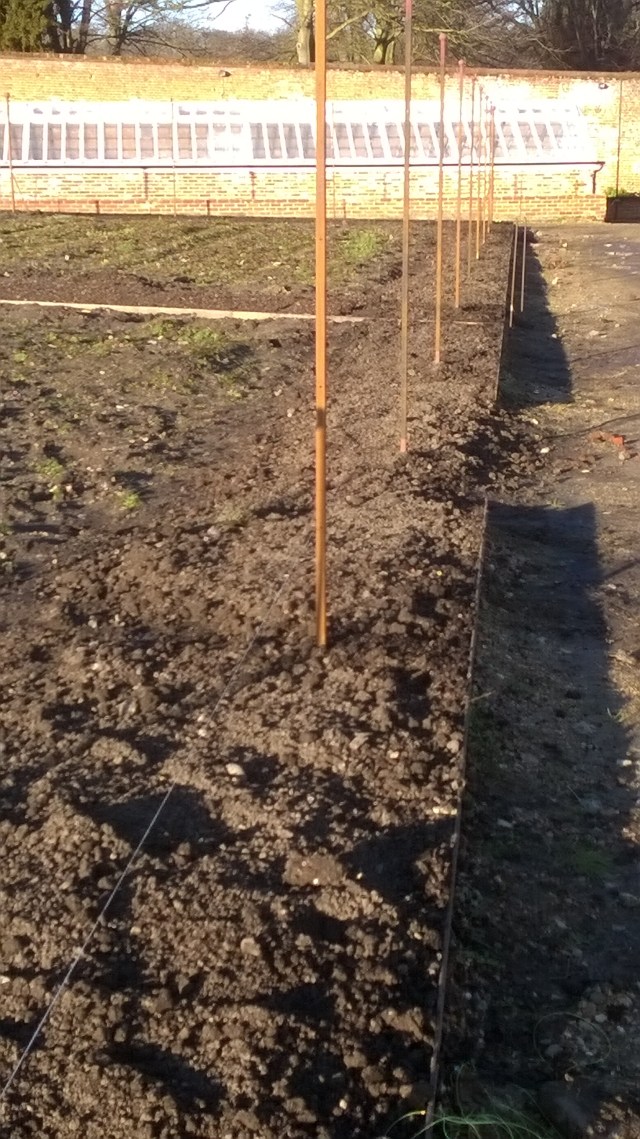
The other big project for this year, the wildlife pond, has begun too. Having firmed up my sketch plan I decided to dig out the main boundaries and other features and put in some key shrubs from elsewhere in the garden. While I was at it I thought I’d tidy up and strengthen the planting in the two borders you pass between to get to the pond. These look much better, with one side featuring a relocated Spotted Laurel (which was nestling unseen behind soem holly and whose leaves now pick up the yellow flowers of the Kerria behind), Star Magnolia and Viburnum along with white Forget – me – Nots, and Verbena bonariensis. The other side features the ornamental Japanese Maple I bought last year along with a Flowering Currant and Anemanthele lessoniana grass, all surrounded with Yellow Loosestrife and purple Geraniums.
I’ve also acquired- again from Peter and his wife Pam, some plants suitable for the pond area and I hope to get some rustic wooden poles and log slices for embanking and an arbour from Blickling when I’m next there – the acquisitions continue!

Pond plants for free…

..and an impulse buy!
Elsewhere in the garden I’ve begun the great spring clear up- cutting spent stems and pruning shrubs and trees, raking off leaves from the borders and forking over the soil to remove weeds and aerate. I find this very satisfying work, though I’ve a lot to do. I also cut the grass in a few places a week or two ago (in February would you believe!), as it had grown considerably in the (to date) mild winter.
Borders cleared and ready for weeding and soil tickling…
I’ve also finally got my seed potatoes chitting (‘Rocket’ as first earlies, ‘Charlotte’ as second), and my first seeds have been sown and are starting to germinate; Sweet peas, Scabious, Lettuce, Calabrese, cosmos etc. Some of these are a little spindly, showing the effect of low light levels, but hopefully they can be potted up shortly and placed in the greenhouse to continue their journey.

potatoes chitting…

..Sweet Pea seedlings just pinched out…

…Lettuce, Scabious, Calabrese, Cosmos on the way
My garden design course at Blickling proceeds well, I think, with 6 participants keen to find out how best to improve their own plots, which range from small, urban settings to large country gardens. The second session involved a practical measured survey of the Secret Garden at Blickling, which I think they found very instructive, and in tomorrow’s session I plan to cover garden structure which will also involve a visit to the gardens at Blickling to observe the key structural elements of the different gardens there.
Oh, I mustn’t forget my other acquisition this month. Our neighbour Richard and I were chatting over the garden fence one day and he told me of his new mole repeller, and asked if I wanted to get one as he was going to order another. Having used this sort of thing in the past with mixed results I was skeptical, but went along and said I’d give one a try. Well, he duly came round the other day and presented me with this solar-powered device, which emits a regular sound which is supposed to disturb the moles and encourage them to move on. He didn’t want any payment either!
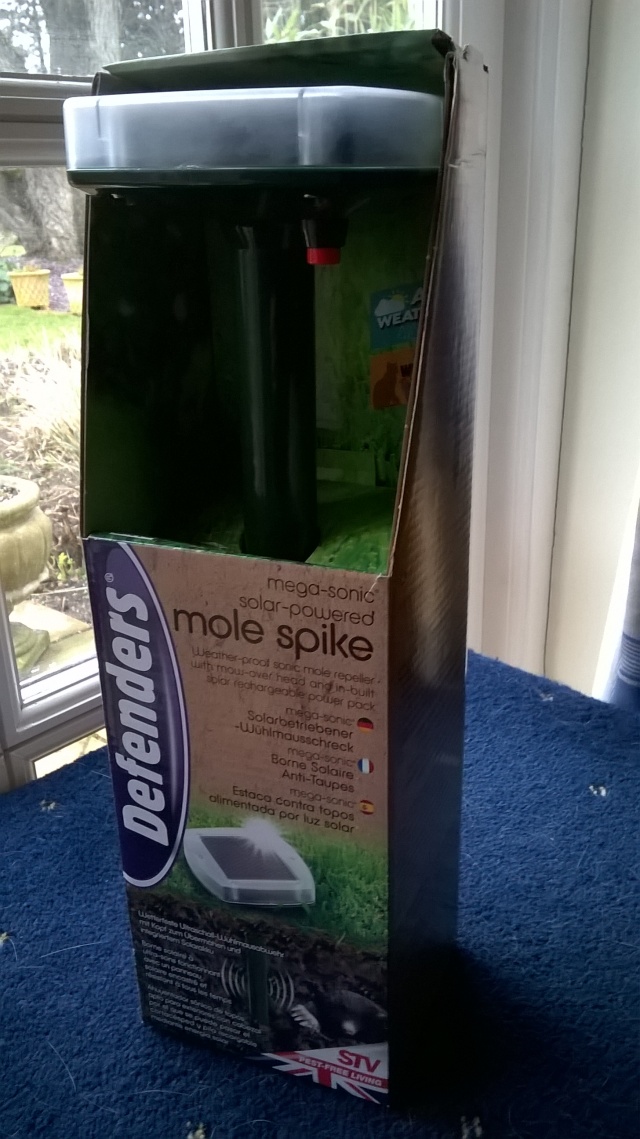
Will it work? My new attempt at mole control, courtesy of neighbour Richard
So, it is in the lawn where there was last evidence of mole activity (I’ve also come across lots of mole hills in the borders as I’ve been clearing up), so we’ll see what impact it has. I suspect it’s still a little early for mole activity on any scale, so I await the spring with a mixture of trepidation and a small element of hope that this new device might do the trick. Of course with us both having these things we could drive the moles to our third nearby neighbour’s garden! But this shouldn’t be too much of an issue as the chap there, Norman, seems to thrive on his mole catching ability; I think his tally to date is in the twenties!


Well, Walter, I hope this latest letter finds you and Lise in good health and looking forward to the lighter, warmer days of spring that are on the horizon- tomorrow is March after all!
best wishes,
Old School Gardener

 The simplest ornament has more impact if it is raised. Keep your costs down by making your own pedestal; use a length of clay drainpipe, about a third taller than it is wide. Alternatively use some old bricks to make a pedestal. Place a paving slab on a level bed of sand; cement the pipe or place the bricks on top of it. Fix a slightly smaller slab on top with cement and finish off with your ornament; this could be a large sea shell, bird bath or whatever….
 Chimney pots can also make great planters or pedestals….
 And why not some sawn off tree trunks or chicken wire gabions filled with stones…

 Sources:


 No garden is complete- in my view- without some plants you can eat. Even if it’s only the leaves of herbs or flower petals to garnish a ‘happy salad’, growing our own food has to be a part of the essence of gardening. So today’s object is a traditional garden trug, used to gather in the fruits (and veg) of your labours.


 Seen from indoors, or as you approach a stepped entrance, pots can make a ready-staged display as they mount the stairs. But always make sure that the pots do not obstruct the route and that they cannot fall or be kicked over. You can fix the pots in place with a dab or two of cement, as long as the drainage holes are not blocked, but this means they cannot be moved. The simplest way to secure each pot is to wrap a loop of gardening wire firmly round it and tie the ends of the wire to side railings or other firmly fixed uprights.