Simple natural elements can make a garden special for younger children
With many parents at home with their children due to the Corona virus pandemic why not take a look at your garden from your child’s point of view. Does it provide the sort of play potential they need to develop their creative, physical and social skills – and have fun too – during those long summer days (and for that matter all the year round)?
Surveys show how playing in parks or their own garden come out tops for children when asked what their favourite activities are. And experts are claiming that children are no longer ‘free range’, lacking opportunities to play outside and in more ‘natural’ surroundings. The garden can play an important part in meeting this deficit, especially for younger children. Thinking about how to make your garden child-play friendly and then spending a little money on creating the right space will repay dividends over many years.
A children’s discovery space made out of old pallets
It’s tempting to go out to your nearest ‘Home and Garden’ Store and buy a ready- made (and probably self –build) swing, slide or combination play unit. This is certainly easy to do – though the cost of some of these items and the challenge to your sanity when you start to construct them might just give you pause for thought! Don’t get me wrong, ready made play equipment has its place. But it tends to focus on the physical activity side of play and can leave out the imaginative, creative and social play that are equally important. Providing simple play pleasures in your garden needn’t cost you an arm and a leg!
A more creative, and possibly better value approach, is to start with the idea that the garden for children (of all ages, and for adults too for that matter) should be a multi-sensory space, with:
-
different surfaces and textures to touch – stones/ gravel/ bark/ brick and plants with interesting leaves such as Stachys byzantina (‘Lambs’ Ears’) or Bergenia (‘Elephant’s Ears’)
-
varied smells – from different flowers and leaves (e.g. herbs)
-
tastes – growing and picking your own strawberries, other fruit or fresh vegetables
-
sounds – wind through grasses, chimes, water dripping into a child-proof pool
-
sights- break up the garden into different zones with their own character

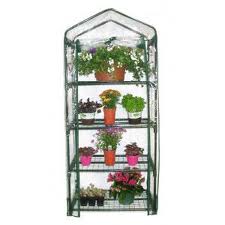
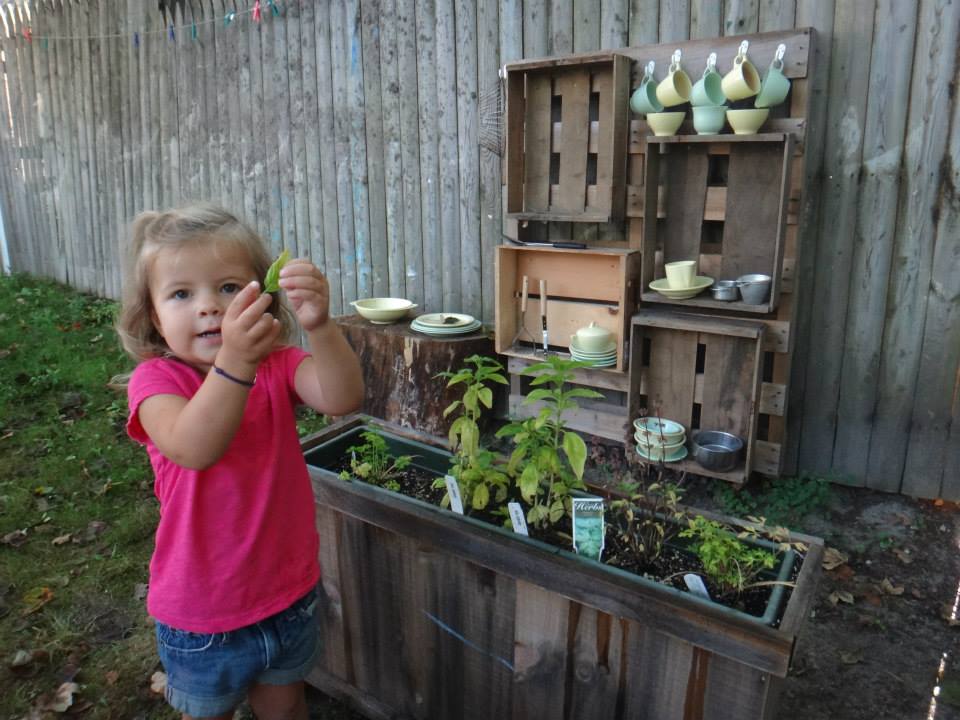
A children’s food garden
Once you’ve taken a critical look at your plot and come up with a few ideas, its time to talk about what you can create in your garden with your children.
They may well need their thinking broadened from the standard play equipment kit list, by focusing on the sorts of play activities they would like to do. Play consultant Jan White* has come up with a useful list to prompt discussion:
· run climb, pedal, throw….
· be excited, adventurous, energetic, messy, noisy….
· hide, be secret, relax, find calm, reflect, be alone….
· talk, interact, develop friendships….
· imagine, dream, invent….
· create, construct, dismantle….
· explore, discover, experiment….
· dig, grow, nurture….
· make sounds and music, express feelings and ideas….
· explore materials, make marks and patterns….
· be trusted, have responsibility….
· be independent, initiate, collaborate…

Perhaps add a climbing wall to a garden fence?
So, you’ve had your discussion and you’ve got some ideas starting to form. What next?
Well, gardens vary in size and shape – as do children – but you might find these seven tips of use when starting to develop your first thoughts into firm projects for play in your garden:
1. Natural resources- treat the outdoors differently to the indoors- its special, so create spaces and provide playthings which children can’t get inside; e.g a tree house or a tree for climbing (if you have one big enough), a pit or pile of sand, or if you’re feeling very brave– a mudpool!
2. Growing children– give children a separate, personal garden where they can ‘grow their own’ food
3. Futureproof– if you have younger children, think ahead and provide things which will engage children for several years or which can be easily adapted as they grow older – convert a sand pit to a growing area, a swing frame into a hammock frame
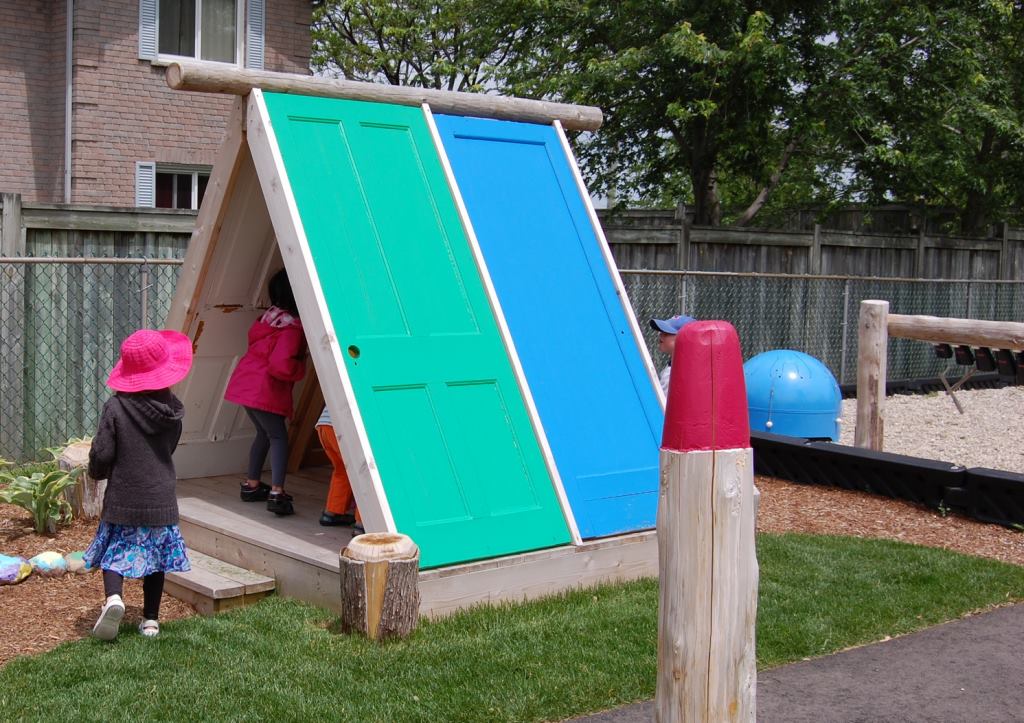
4. Small and simple– a few odd bits and pieces of recycled wood (e.g doors, pallets, furniture), boxes, bricks, cloth, plastic pipe etc. can fuel children’s imaginations and creative play – it doesn’t matter if the place looks a bit untidy!
5. Doubling up– make the most of space – think about garden structures which can play a role in the ‘adult garden’ as well as providing something for children; e.g wooden arches that can support a swing, sand pits concealed below trap doors in wooden decked terraces, a climbing frame that’s one side of a pergola, a climbing wall fixed to a strong garden boundary or screen, varied path surfaces with some in-built pattern (you can even get some with fossils imprinted on them)
6. Move the earth– don’t be afraid of creating (even small) hills and hollows in your otherwise flat garden (unless you have these already of course) – children love running up and down slopes and use these for all sorts of creative games. If you like, add in a few rocks and logs (fixed down) for them to clamber over
7. Get social– encourage your children to play with other children – invite their friends round and take them to friend’s gardens, play areas and other places where there’s a good chance of meeting other children
Even if your garden is small, you can use your imagination and create a unique and special place for your children!
Recycled materials can create a magical space- especially if the children are involved in making it!
*’Playing and Learning Outdoors: making provision for high-quality experiences in outdoor environments’ by Jan White- published by Routledge (2008)
Further information:
Growing food with children
A children’s food garden
Garden games
Old School Gardener
If you’ve enjoyed reading this post and others on this blog, why not comment and join others by signing up for automatic updates via email (see side bar, above right ) or through an RSS feed (see top of page)?


 1. Ajuga